

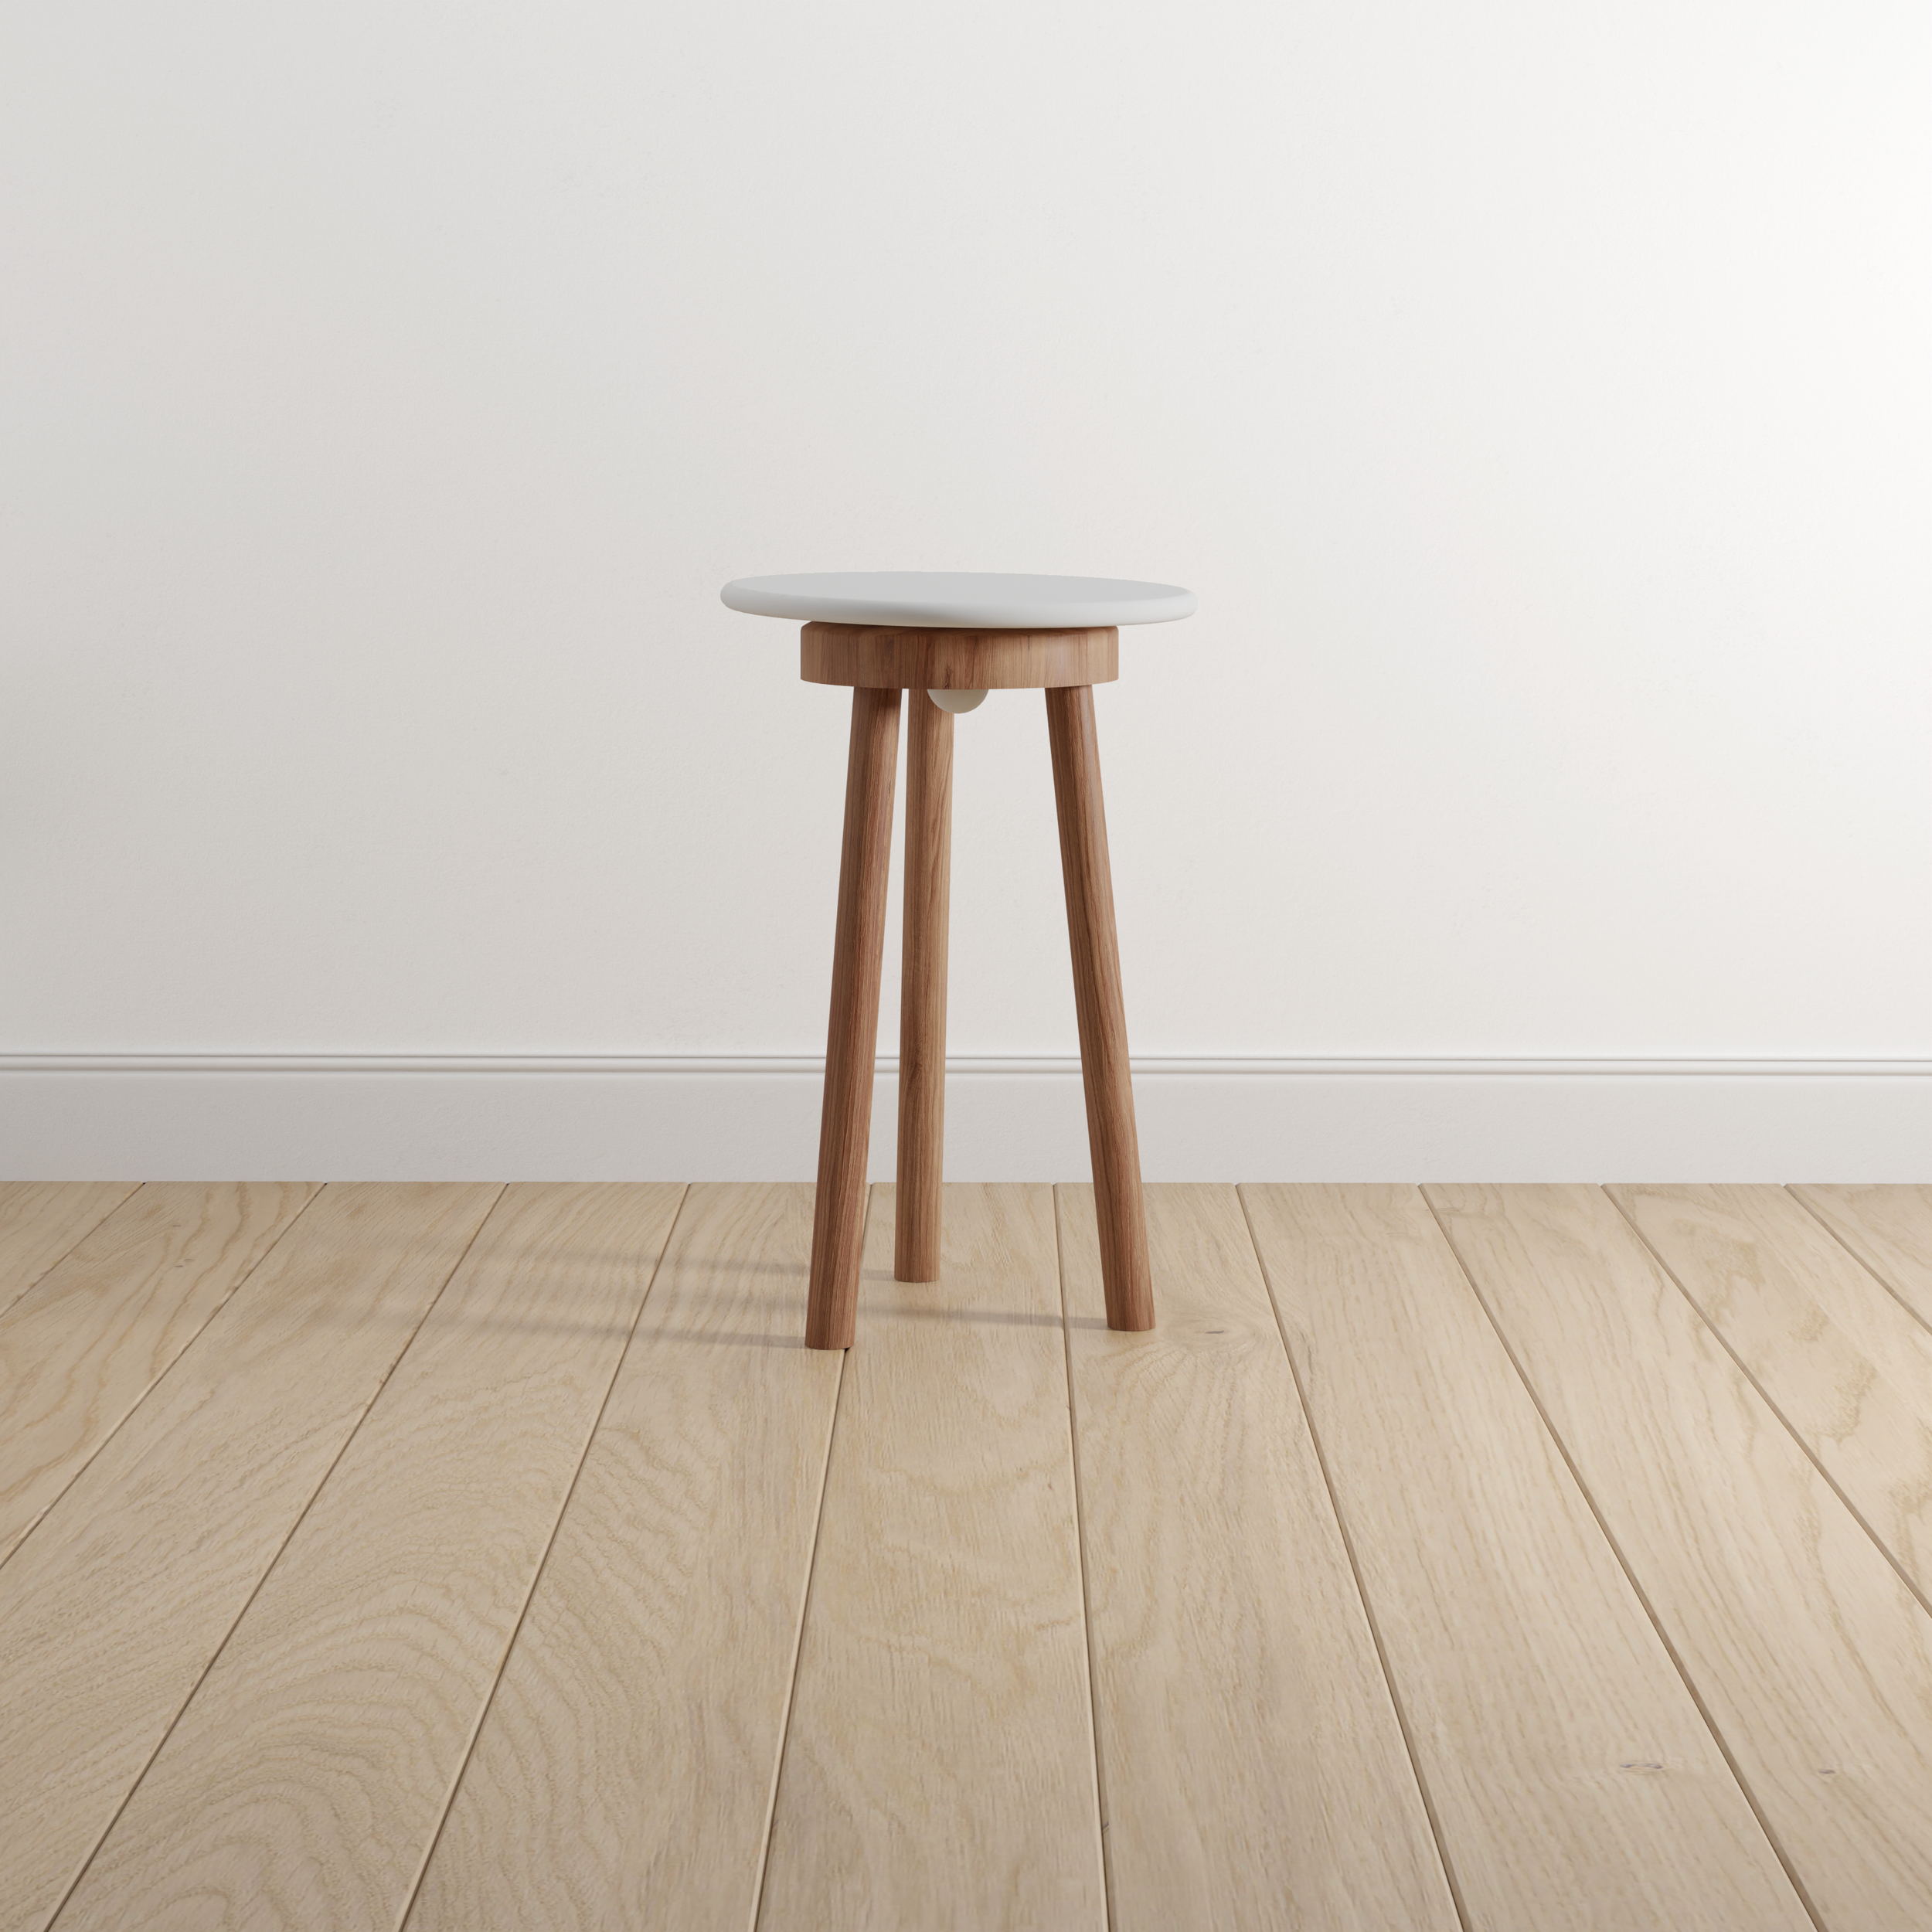
Meet Wobble!
Wobble is a dynamic active seating stool that brings movement into your sitting routine.
Inspired by unconventional seating methods in means to tackle problems that arise with sitting for prolonged periods of time.
I’ll walk you through the concept and the process behind creating this stool. From its initial idea to its real-life production, giving you a glimpse of what went into designing and crafting this piece of furniture.
Picture yourself sitting in your favorite corner, feeling a gentle sway of “Wabble” as it encourages you to shift, sway, and stay engaged, even when you’re seated.
Now, let’s explore how this idea came to life!
Proof of Concept
To test out the concept, I started with a 3D printed 1:3 scale model. My goal was to create a ball socket joinery that would keep the top secure in place while allowing it to rotate. However, I encountered some challenges with working with this method, and so I took a step back and went back tobrainstorming.


After some brainstorming, I devised a different approach that guarantees the better security. It involves an extending component from the top and a fitting piece from below that goes right through the base of the seat. This new solution provides a stable connection while still allowing for the desired rotation and tilting of the seat.

Technical Drawings


Renderings


Manufacturing Process
Material Selection: To start off the stool-making process, I headed to the store Roger & Sons to carefully pick out the materials. For this prototype, I chose to use raintree wood for the base and used some off cut dowels for the legs.

Woodworking: The wooden base, which forms the foundation of the stool, undergoes carving on the lathe to get a smooth and even dome cutout into the base. Afterwards, I sanded it to create a smooth surface. As for the legs, I had to cut them to 40 cm and at a 14 degree angle to fit the design of my stool. For production this peice would have to be made through CNC cutting to ensure perfect sizing of the cutout.

Plastic Seat: The plastic seat is made from two components, an acrylic sheet for the top and a 3D printed component for the dome. For the acrylic sheet, I used the bandsaw to cut it to a circular profile and a hand router to create a fillet going around. The 3D printed dome component is created to fit nicely inside the cutout in the base. And another 3D printed part is made to perfectly fit in from the bottom to secure the seat to the base. Ideally, if this stool were to be mass produced thplastic seat would be made through 2 part injection molding. And as for the fitting component of the product, I would make it a screwing mechanism rather than a tight fit.

Assembly: Putting it all together was quite straightforward. Following an easy three-leg joinery method, I marked the leg placements, glued them in with some wood glue, and added extra security with drilling from the top of the base. For a larger scale production, I’d stick to the traditional three-leg joinery method – three holes in the seat and the legs hammer right into place. To cap it off, the seat sits right on the base, secured from below with the fitting component for a snug fit.

Finishing: A coat of teak oil gave the wood a beautiful finish, while a few layers white matte spray paint were used to coat plastic seat. When it comes to serial production, the finishing process would typically involve an automated application of the finishing materials, so the wood might receive a durable varnish or protective lacquer, while the plastic seat could be finished with a high-quality paint or coating for a uniform appearance.

Product Photos


